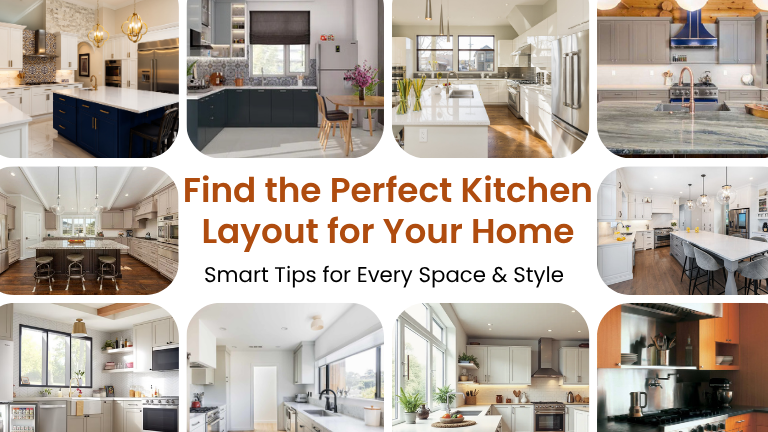
28 Kitchen Layout Guide: From Floor Plan to Final Touch
Why Kitchen Layout Matters
The kitchen is no longer just a space for cooking — it’s where the family gathers, guests mingle, and memories are made. That’s why creating an efficient and inviting kitchen layout is essential. From understanding kitchen floor plans to adding personal styling touches, this complete guide walks you through the kitchen design process step by step.
Let’s explore 28 practical, beautiful, and functional kitchen layout ideas that will help you design your kitchen for space, safety, and style.
Phase 1: Understanding the Kitchen Design Process
1. Start With Your Needs

Before selecting countertops or cabinet colors, assess your household needs. Are you a frequent entertainer? Do you need kid-friendly access? Your answers shape the foundation of your layout.
2. Define the Kitchen Work Triangle

The traditional kitchen work triangle — sink, stove, refrigerator — should form a clear, efficient path. It reduces unnecessary steps and keeps traffic moving smoothly.
3. Choose the Right Kitchen Floor Plan
Common kitchen floor plans include:
- Galley (parallel counters for tight spaces

- L-Shaped (open and efficient)

- U-Shaped (surrounding layout for busy cooks)

- Island (adds prep and gathering space)

- Peninsula (a space-saving island alternative)

Each layout has strengths. Match one to your space and lifestyle.
4. Set Clear Zones
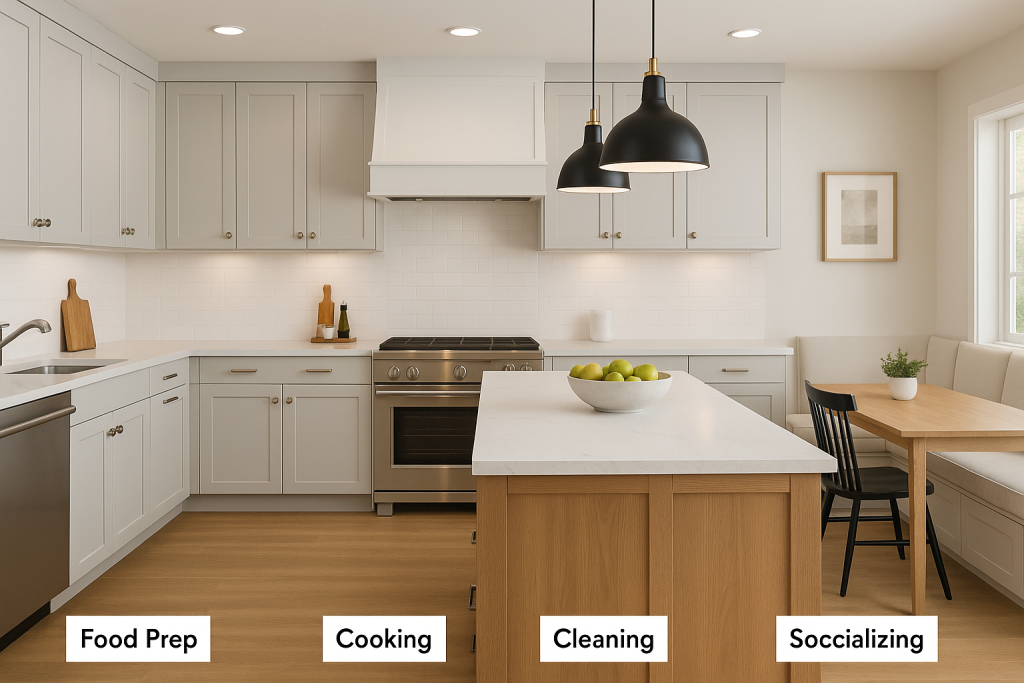
Today’s kitchens benefit from zoning: food prep, cooking, cleaning, serving, and socializing. Delineate each area in your plan to keep the kitchen workflow smooth.
Phase 2: Planning Your Floor Plan
5. Measure Everything Accurately

Before drawing up kitchen floor plans, measure all dimensions — wall lengths, ceiling height, window/door positions, etc. Precise measurements prevent layout headaches.
6. Account for Walkway Clearance

Walkways between cabinets and islands should be at least 42–48 inches wide to allow people to move freely — essential in family kitchens or open-plan homes.
7. Plan for Ventilation

Include a range hood or proper venting in your layout — it’s not just about cooking smells but moisture and air quality.
8. Optimize Natural Light

If your kitchen is near a garden or balcony, use French doors or garden windows. Good lighting supports mood, tasks, and design aesthetics.
Phase 3: Exploring Layout Types
9. Galley Kitchen With Dual Access

A galley layout is perfect for narrow kitchens and small spaces. If you add two entrances, you improve traffic flow. Soft-close drawers enhance safety.
10. L-Shaped Kitchen With Island Seating

This layout creates two functional sides and places a central island with stools — great for family chats and breakfast time.
11. U-Shaped Kitchen With a Breakfast Nook

Surrounding cabinets offer ample storage. Add a cozy breakfast nook for casual dining, homework, or coffee breaks.
12. Peninsula Kitchen Layout

A peninsula extends from a wall or cabinet run, mimicking an island while saving space — ideal for smaller homes.
13. Double Island Layout

In larger kitchens, two islands divide tasks: one for prep, one for dining or schoolwork. Great for multitasking families.
14. Open-Concept Kitchen Connected to Living Room

Remove barriers to create a flowing space. Parents can cook while watching kids play — it fosters family connection.
Phase 4: Functional Additions
15. Install a Central Island With Built-In Storage

An island with drawers or cubbies makes snacks or lunchboxes accessible to kids — without interrupting the main prep zone.
16. Include a Breakfast Bar

Add a raised counter section for a casual dining zone. Bonus: It hides prep mess during gatherings.
17. Create a Built-In Desk or Homework Area

Incorporate a small desk into your layout. Kids can finish assignments while you cook, or you can work remotely from home.
18. Add a Pull-Out Pantry

A vertical pull-out pantry fits neatly into corners or narrow gaps, making use of every inch.
19. Hide Appliances in Garages

Designate closed “appliance garages” to keep mixers, toasters, and blenders accessible yet hidden, creating clutter-free counters.
20. Use Under-Counter Freezer Drawers

Great for families with kids — frozen treats and meal items are easier to access independently.
Phase 5: Child-Friendly & Safety Features
21. Install Rounded Edges on Counters

Round countertop corners reduce the chance of injury — a key child-safe kitchen strategy.
22. Use Soft-Close Everything

From drawers to toilet seats — soft-close hinges prevent finger-pinching and reduce noise in busy kitchens.
23. Add a Pull-Out Step Stool Station

Tuck a small step stool into a cabinet drawer for kids to safely reach sinks or counters.
24. Create Kid-Specific Snack Stations

Lower drawers or cabinets for snacks empower kids to help themselves, fostering independence.
Phase 6: Smart Storage & Flow
25. Maximize Vertical Space

Install tall cabinets, hanging pot racks, or open shelving to keep counters clear and boost storage without sacrificing space.
26. Plan for Hidden Trash/Recycling Pull-Outs

Discreet bins inside lower cabinets streamline cleanup while keeping things neat and odor-free.
27. Designate Multiple Charging Stations

Include USB ports and outlets in drawers or counters to create charging hubs — perfect for digital recipes or remote work.
Phase 7: The Finishing Touches
28. Style With Cohesion and Comfort

Match your kitchen decor with adjacent living spaces. Use cohesive colors, soft lighting (task + ambient), and cozy textures like rugs, stools, and blinds.
Final Thoughts: How to Layout a Kitchen for Real Life
The best kitchen layouts aren’t just about aesthetics — they’re about function, flow, and flexibility. Whether you’re creating a galley for two or a multi-island hub for a large family, the kitchen planning tips above will guide you from blueprint to beauty.
Take the time to design your kitchen with purpose. Your future self — prepping, socializing, cleaning, working — will thank you.